
Getting your air ducts cleaned might sound as simple as letting the pros handle the grime. Yet most homeowners overlook the groundwork needed for a truly successful job. Only about 40 percent of homes have accessible duct entry points for thorough cleaning according to industry reports. The real surprise is that a little prep on your end not only makes the job smoother but can also help your air stay cleaner for much longer than you think.
Table of Contents
- Step 1: Inspect Your Duct System For Accessibility
- Step 2: Clear The Area Around Duct Vents And Registers
- Step 3: Gather Necessary Tools And Supplies
- Step 4: Schedule A Professional Cleaning Service
- Step 5: Prepare Your Home For The Cleaning Process
Quick Summary
| Key Point | Explanation |
|---|---|
| 1. Inspect duct access points thoroughly | Identify locations, assess their condition, and ensure they open easily for effective cleaning. |
| 2. Clear two feet around vents | Move furniture and objects blocking vents to allow technicians full access to clean efficiently. |
| 3. Gather protective and cleaning supplies | Prepare gloves, masks, vacuums, and drop cloths to support a safe and clean environment for duct cleaning. |
| 4. Research professional duct services | Choose reputable companies with positive reviews and certifications for reliable and comprehensive service. |
| 5. Prepare your home on cleaning day | Shut down HVAC systems, create clear pathways, and secure valuables to ensure an efficient cleaning process. |
Step 1: Inspect Your Duct System for Accessibility
Preparing for duct cleaning begins with a comprehensive inspection of your home’s ventilation system. This crucial first step helps you understand the current condition of your ductwork and identify potential challenges before professional cleaning begins. Proper accessibility is key to ensuring a thorough and effective cleaning process.
Start by locating all your home’s duct access points, which are typically found near the furnace, in utility rooms, and along walls or ceilings. Look for removable panels or small metal doors that provide entry points into the ductwork. These access points are critical for technicians to reach and clean different sections of your ventilation system. Not all homes have multiple access points, so take time to carefully map out where these are located.
You’ll want to check the condition of these access points. Are they sealed properly? Do they open smoothly? Inspect for any signs of damage, rust, or previous repairs that might complicate the cleaning process. Some older homes might have access points that are painted over or difficult to remove, which could require additional preparation.
Measure the size of these access points and compare them to standard professional duct cleaning equipment. Technicians typically need at least 8 inches of clearance to insert their cleaning tools effectively. If your access points are smaller, you might need to discuss potential modifications with your cleaning professional. Our air duct inspection guide for Texas homeowners can provide additional insights into preparing your home’s ventilation system.
Physical accessibility goes beyond just access points. Clear a path to these areas by moving furniture, removing obstacles, and ensuring technicians can easily navigate your space. This preparation prevents potential damage to your belongings and allows for a more efficient cleaning process. Take measurements of tight spaces, doorways, and hallways to confirm equipment can be moved around without difficulty.
Documentation is an often overlooked but important part of this inspection. Take clear photographs of your duct access points and note any unique characteristics or potential challenges. These images can help communicate specific considerations to your duct cleaning professionals and ensure they arrive fully prepared. By completing this detailed inspection, you’re setting the stage for a smooth and effective duct cleaning experience.
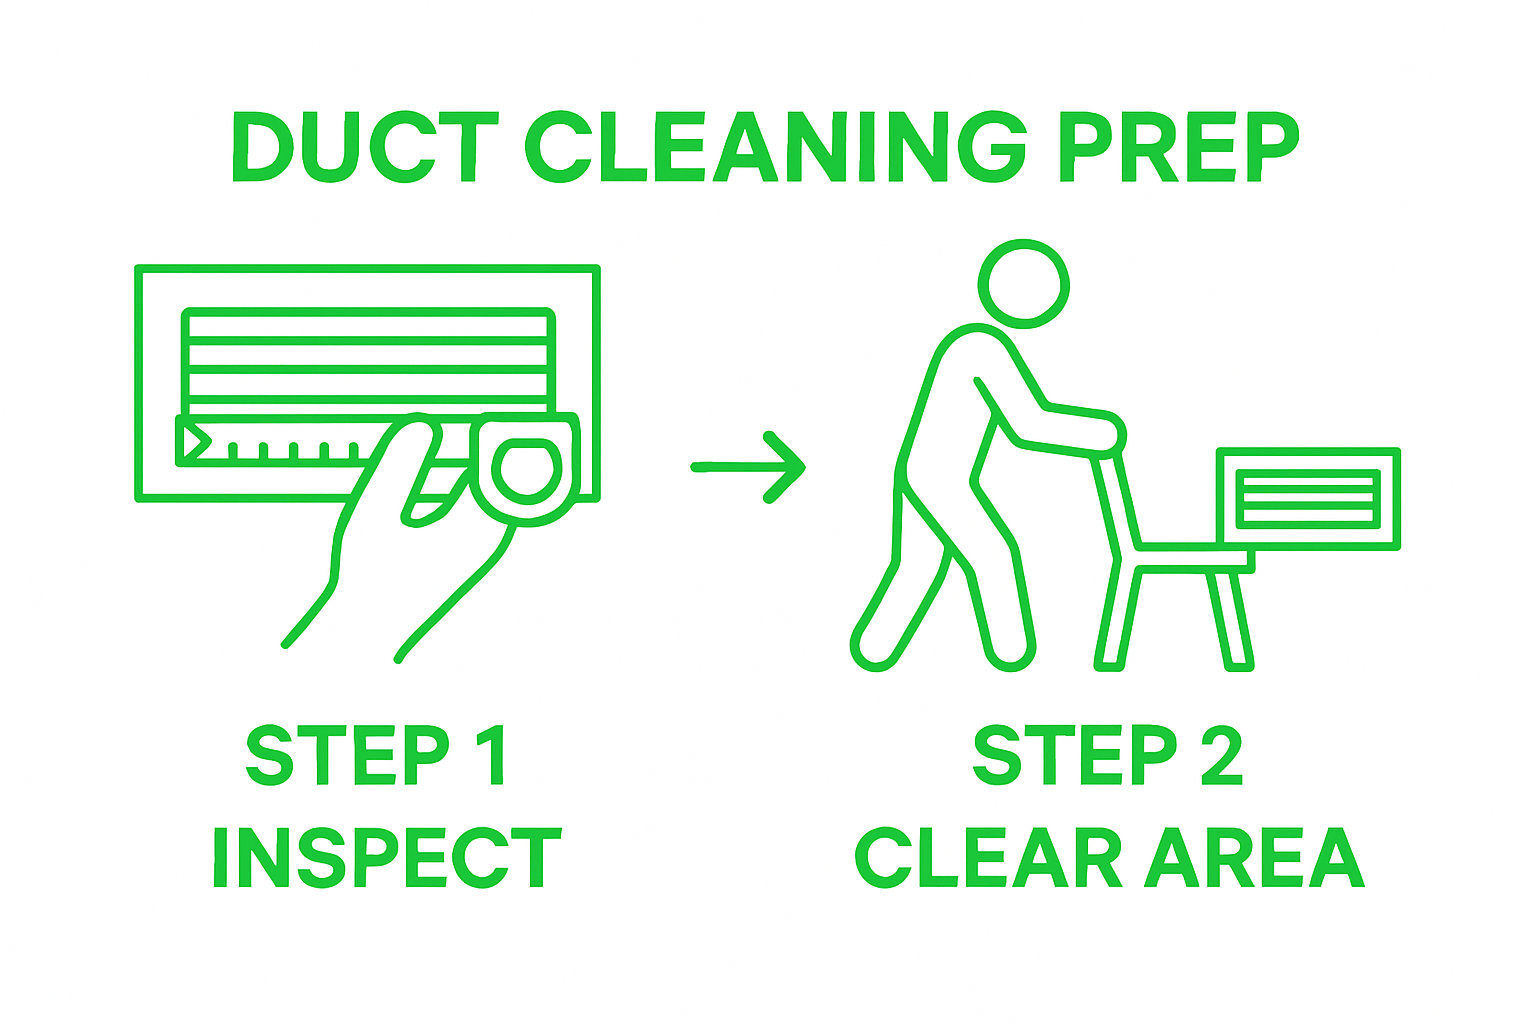
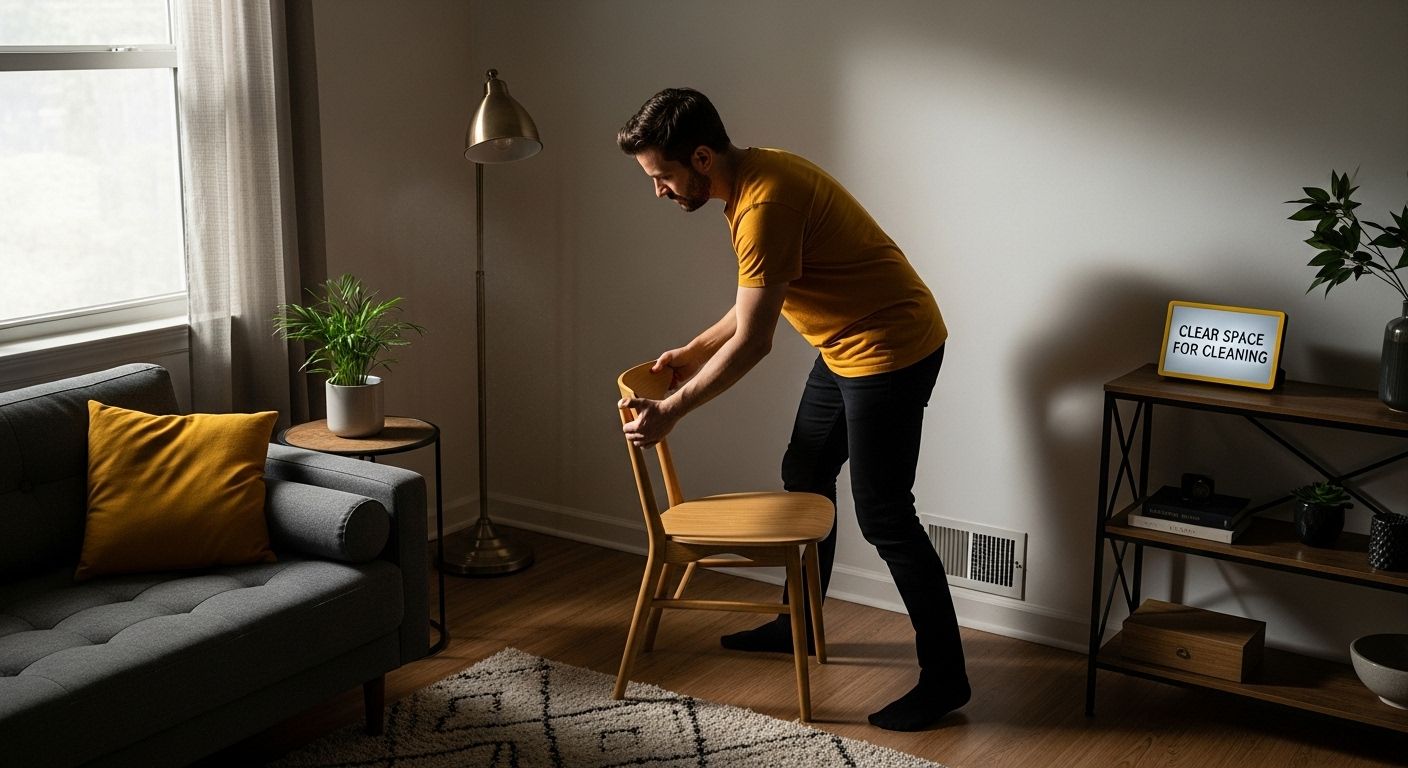
Step 2: Clear the Area Around Duct Vents and Registers
Clearing the area around your home’s duct vents and registers is a critical preparation step that ensures a smooth and efficient duct cleaning process. This important task involves creating clear access points for technicians while protecting your home’s interior and furnishings from potential disruption during the cleaning procedure.
Begin by systematically walking through each room in your home, identifying all vent and register locations. These are typically found on floors, walls, and ceilings. Take note of furniture, rugs, decorative items, and other objects that might be blocking or near these critical ventilation points. The goal is to create a minimum of two feet of clear space around each vent to allow technicians full access and movement.
Furniture repositioning requires careful consideration. Move chairs, side tables, bookcases, and other items away from vent locations. For heavy furniture, consider using furniture sliders to minimize floor scratching and make movement easier. Pay special attention to rooms with multiple vents, such as living rooms and bedrooms, where furniture placement can be more complex. Check out our guide for new homeowners for additional insights into preparing your living spaces.
Protect delicate items during this process. Remove fragile decorations, artwork, and electronics near vents to prevent accidental damage. Use this opportunity to dust and clean around vent areas, which can help reduce overall dust circulation during the cleaning process. For curtains or drapes near floor and wall vents, carefully pull them back or temporarily remove them to ensure complete access.
Some practical considerations can make this process smoother. Have cleaning cloths, a vacuum, and storage containers ready to temporarily relocate items. If you have pets, consider keeping them in a separate area during the preparation to prevent interference and ensure their safety. Take photographs of your room layouts before moving furniture, which can help you return items to their original positions after the duct cleaning is complete.
Before the technicians arrive, do a final walkthrough to confirm all vents are completely accessible. Check that no objects are sitting directly on or immediately in front of registers. This preparation not only facilitates a more thorough cleaning but also helps prevent potential damage to your belongings and ensures the most efficient service possible. By taking these careful steps, you’re setting the stage for a professional and effective duct cleaning experience.
Step 3: Gather Necessary Tools and Supplies
Preparing for a professional duct cleaning requires strategic gathering of tools and supplies that will facilitate a smooth and efficient process. This step is about creating a supportive environment for the technicians while protecting your home and ensuring you have everything needed to support the cleaning operation.
Personal protective equipment should be your first priority. Have a set of disposable gloves, dust masks, and safety glasses ready. These items protect you during any preparatory work and demonstrate your commitment to maintaining a clean and safe environment. Consider having a few extra sets available in case the technicians need additional protection or if you plan to assist with any preliminary tasks.
Prepare cleaning supplies that might be needed during or after the duct cleaning process. A high-quality vacuum with a HEPA filter, microfiber cloths, and all-purpose cleaning solution will help you quickly address any dust or debris that might emerge during the cleaning. Keep these supplies in an easily accessible location near the areas where duct work will be performed. Learn more about comprehensive home cleaning approaches in our guide for new homeowners.
Document preparation is another crucial aspect of this step. Gather important information such as your home’s age, previous maintenance records, and any specific concerns about your ventilation system. Create a folder with your home’s HVAC system manual, recent filter replacement records, and any notes about persistent dust or air quality issues. This documentation can provide valuable context for the cleaning professionals and help them tailor their approach to your specific needs.
Consider practical logistics like having drop cloths or plastic sheeting available to protect flooring and furniture near vent areas. Large garbage bags for collecting potential debris, painter’s tape for marking access points, and a measuring tape to confirm clearances are also useful tools. Having a designated staging area where technicians can place their equipment and work efficiently will streamline the entire process.
Here is a summary of essential tools, supplies, and documentation to prepare before your duct cleaning service, along with their main purpose.
| Item | Purpose | Example/Details |
|---|---|---|
| Gloves & Dust Masks | Personal protection during prep | Disposable sets for you and technicians |
| Safety Glasses | Eye protection during cleaning prep | Clear or tinted safety goggles |
| Vacuum with HEPA Filter | Clean up dust/debris before and after | High-efficiency vacuum near work area |
| Microfiber Cloths | Wipe down surfaces around vents | Store near access points |
| All-Purpose Cleaner | Spot clean surfaces pre/post cleaning | Non-toxic preferred |
| Drop Cloths/Plastic Sheeting | Protect floors and furniture | Place under/near vent areas |
| Painter’s Tape | Mark access points or areas needing attention | Low-residue tape |
| Measuring Tape | Confirm clearance for equipment/tools | At least 8-inch clearance recommended |
| Documentation Folder | Provide HVAC history, concerns, system manuals | Age of home, filter dates, air quality notes |
Finally, prepare your communication tools. Ensure your phone is charged and you have the contact information for the duct cleaning service readily available. Create a list of questions or specific concerns you want to discuss with the technicians. By gathering these tools and supplies in advance, you’re not just preparing for a duct cleaning service you’re setting the stage for a professional, thorough, and hassle-free experience that will improve your home’s air quality and overall comfort.
Step 4: Schedule a Professional Cleaning Service
Scheduling a professional duct cleaning service is a critical step that transforms your preparation into actual home maintenance. This process involves more than simply making a phone call it requires strategic research and careful selection to ensure you receive high-quality, comprehensive service that meets your home’s specific needs.
Begin by researching reputable duct cleaning professionals in your area. Look for companies with solid credentials, positive customer reviews, and proven experience in residential duct cleaning. Professional certifications from organizations like the National Air Duct Cleaners Association (NADCA) are strong indicators of expertise and commitment to industry standards. Explore our guide on when to clean air ducts for Texas homeowners to gain additional insights into timing and selection.
When contacting potential service providers, prepare a comprehensive list of questions that will help you assess their capabilities. Inquire about their cleaning methods, equipment, estimated duration of service, and whether they provide a detailed inspection report. Ask about their approach to addressing potential issues like mold, dust accumulation, or potential ductwork damage. A professional service should be transparent about their process and willing to explain each step thoroughly.
Consider the timing of your duct cleaning carefully. Schedule the service during a period when your home can accommodate potential minor disruptions. Weekdays often provide more flexibility for professional services, and many companies offer morning or afternoon time slots. If you have specific scheduling constraints like work hours or family commitments, communicate these upfront to find the most convenient appointment.
Financial preparation is equally important. Request written estimates from multiple service providers to compare pricing and included services. Be wary of quotes that seem significantly lower than others, as this might indicate subpar service or hidden additional costs. A comprehensive duct cleaning typically involves inspection, cleaning of all accessible areas, and a final assessment of system performance.
Before finalizing the appointment, confirm a few critical details. Verify the expected arrival time, estimated service duration, and any specific preparations they recommend. Some companies might request additional access or specific room arrangements not covered in previous preparation steps. Ask about their COVID-19 or health safety protocols to ensure a safe service experience. By methodically approaching the scheduling process, you’re setting the stage for a thorough, professional duct cleaning that will significantly improve your home’s air quality and HVAC system efficiency.
Step 5: Prepare Your Home for the Cleaning Process
Preparing your home for professional duct cleaning goes beyond simply clearing space and involves creating an optimal environment for thorough and efficient service. This critical step ensures that technicians can work effectively while minimizing potential disruptions to your daily routine and protecting your home’s interior.
Start by shutting down your entire HVAC system completely. This means turning off both the heating and cooling systems at the main circuit breaker, not just adjusting the thermostat. Technicians need a completely inactive system to perform a comprehensive cleaning. Our guide for new homeowners offers additional insights into home maintenance preparations.
Create a clear pathway throughout your home that allows technicians easy access to all duct entry points. This might involve temporarily relocating area rugs, moving lightweight furniture, and ensuring hallways and rooms near vent locations are unobstructed. Consider laying down protective drop cloths in areas where technicians will be working to prevent potential floor or carpet damage. Think about the route technicians will take from their vehicle through your home and plan accordingly.
Temperature and ventilation management is another crucial aspect of home preparation. On the day of cleaning, ensure your home is at a comfortable temperature that allows technicians to work efficiently. Open windows in different rooms to promote air circulation, which helps dissipate dust and provides a more comfortable working environment. If you have pets, consider arranging for them to be in a separate, secure area to prevent interference and ensure their safety during the cleaning process.
Prepare a designated area for the technicians to place their equipment and supplies. This might be near the main HVAC system or in a centrally located space with easy access to multiple rooms. Have clean towels, water, and a trash receptacle available to support the technicians’ work. If you have any specific concerns about particular areas of your ductwork or have noticed persistent air quality issues, compile these details into a brief document to share with the cleaning team.
Finally, make sure all personal valuables and sensitive items are secured or removed from the immediate work areas. This includes fragile decorations, electronic devices, and important documents. Take a few moments to do a final walkthrough, confirming that everything is in place and ready for the professional duct cleaning service. By meticulously preparing your home, you’re setting the stage for a smooth, efficient, and thorough duct cleaning experience that will ultimately improve your indoor air quality and HVAC system performance.
Ready for a True Clean Start? Trust Green Home for Seamless Duct Cleaning
After reading our step-by-step guide, you now know that preparing for duct cleaning can be overwhelming. Clearing access points, moving furniture, and worrying about your home’s indoor air quality can leave you feeling unsure if you have covered every detail. You deserve peace of mind and a cleaner, healthier home.
Let Green Home Duct Cleaning turn your preparation into action. Our professional team knows exactly how to handle the unique challenges described in the article, from thorough inspections to careful cleaning around vents and registers. Experience the confidence of choosing a service that uses eco-friendly tools while protecting your space every step of the way. Do not wait and let hidden dust or allergens linger any longer. Visit our Green Home Duct Cleaning page or learn more about our duct cleaning for new homeowners. Ready for service in the San Antonio and Austin areas? Let us enhance your air quality today.
Frequently Asked Questions
What should I do to prepare my home for duct cleaning?
To prepare your home for duct cleaning, start by inspecting and ensuring all duct access points are clear and accessible. Move furniture and obstacles away from vents, create a clear pathway for technicians, and ensure your HVAC system is turned off completely before they arrive.
How do I check the condition of my duct access points?
Inspect your duct access points for proper sealing and functionality. Look for removable panels or doors and check for damage, rust, or previous repairs. Ensure they are large enough to accommodate professional cleaning equipment, ideally around 8 inches.
What tools and supplies should I gather before duct cleaning?
Gather personal protective equipment such as gloves and dust masks, cleaning supplies like a vacuum with a HEPA filter, microfiber cloths, and all-purpose cleaners. Also, prepare documentation regarding your HVAC system and any specific concerns for the technicians.
How can I find a reputable duct cleaning professional?
Research duct cleaning services in your area by reading customer reviews and checking for certifications from organizations like the National Air Duct Cleaners Association (NADCA). Prepare questions about their cleaning methods, equipment, and service details before making a selection.