
Every editorial product is independently selected, though we may be compensated or receive an affiliate commission if you buy something through our links. Ratings and prices are accurate and items are in stock as of time of publication.
Whether you’re adding new heat runs in a basement or changing the layout of an existing HVAC system, you’ll probably be working with round metal ductwork pipe. We invited Bob Schmahl to give us a few pointers. Bob’s been a tin bender for more than 40 years. He insists he still doesn’t know everything about ductwork, but we weren’t convinced. These tips should help make your next job run that much smoother.
Adding heat runs in a basement may change the airflow in the ductwork going to other rooms. Each register should have its own damper that can be accessed for adjustment. If those dampers can’t be accessed from below, you’ll want to install them close enough to the register so that you can reach them through the register opening. Bob likes 4 x 10-in. boots (not shown)—you can easily fit your hand in them to adjust dampers, and there are more grate cover options for that size.
If you have to disassemble existing ductwork fittings, there’s no need to peel off the old foil tape first. Instead, just score the tape at the seam with a utility knife and remove the screws right through the tape. When it comes time to retape, just clean off the dust and apply new tape right over the old.
There’s no question that flexible duct is easier to install than metal ductwork, but consider this: Flexible duct can degrade over time. It collects dust and is almost impossible to clean. Flexible duct needs to be larger than pipes to allow the same amount of airflow. The most common problem Bob has seen: “People get careless and turn corners too sharp, which creates kinks that severely restrict airflow.”
When assembling pipe, start at one end and work the seam together like a zipper. Use one hand to keep the two edges close and the other to apply downward pressure. Use your leg, a workbench or the ground to support the back side of the pipe. If you make a mistake and have to dismantle a pipe, slam it down flat on the ground, seam side up. It should pop right apart.
Aviator snips work fine to cut holes in a trunk line, but only if there’s enough space. If you’re dealing with close quarters and you own a right-angle drill or attachment, you may want to invest in a sheet metal hole cutter. Otherwise you might have to take down the trunk line.
When you’re installing a pipe between two fixed parts, it’s impossible to slip in the piece using the crimped ends and still get the required 1-1/2-in. overlaps at both ends. Overlap one side as you normally would and create a butt joint on the other. Use a draw band connector to complete the butt joint.
If your supplier doesn’t carry draw band connectors, make your own by cutting a piece of pipe to overlap the ends, and then screw and tape the band into place. If you’re working with 6-in. pipe, you’ll need to use 7-in. pipe for the bands.
Caulk (don’t tape) the connection between the trunk line and a take-off (elbow) before you connect pipes to it. That way, you’ll be able to turn the take-off out of the way to caulk above it. Regular silicone is fine.
If the ducts are going to be concealed, all seams need to be taped or caulked. Here’s Bob’s trick for taping a seam on a pipe that’s installed close to the subfloor: Cut a piece of foil tape to length. Peel off part of the backing. Slide the backing up and over the pipe. Finally, pull down on the backing, which will pull the tape along with it. Inspectors will want to know you’ve used an approved tape, so buy the stuff with writing on it, or keep the roll on-site until inspection.
When cutting pipe, Bob likes to mark the size he needs on each side of the open seam with a marker. Flat metal is easier to cut than curved, so he uses his knee to support and flatten the pipe while he opens it up. Then you just sight on the far mark while you make the cut. It’ll be straight and perfect every time. Bob prefers snips made by Malco, which cost less than $35 online. Unless you enjoy trips to the ER, wear gloves when cutting pipe—the stuff is razor sharp.
Each pipe needs support. You can use just about any support you want, but adjustable steel support brackets are quick and easy. And don’t forget to screw the pipe to the joist hanger so the pipes won’t rattle when someone stomps across the floor above. Every connection needs three screws. They don’t have to be evenly spaced. Use 1-in. galvanized zip screws designed for sheet metal.
Figuring out the right combination of turns to get an elbow to point in the right direction can be perplexing. Bob recommends moving one “gore” (elbow ring) at a time, starting with the connected side. And don’t make 90-degree turns if you don’t have to. A 90-degree elbow creates the same resistance as adding 5 ft. of pipe.
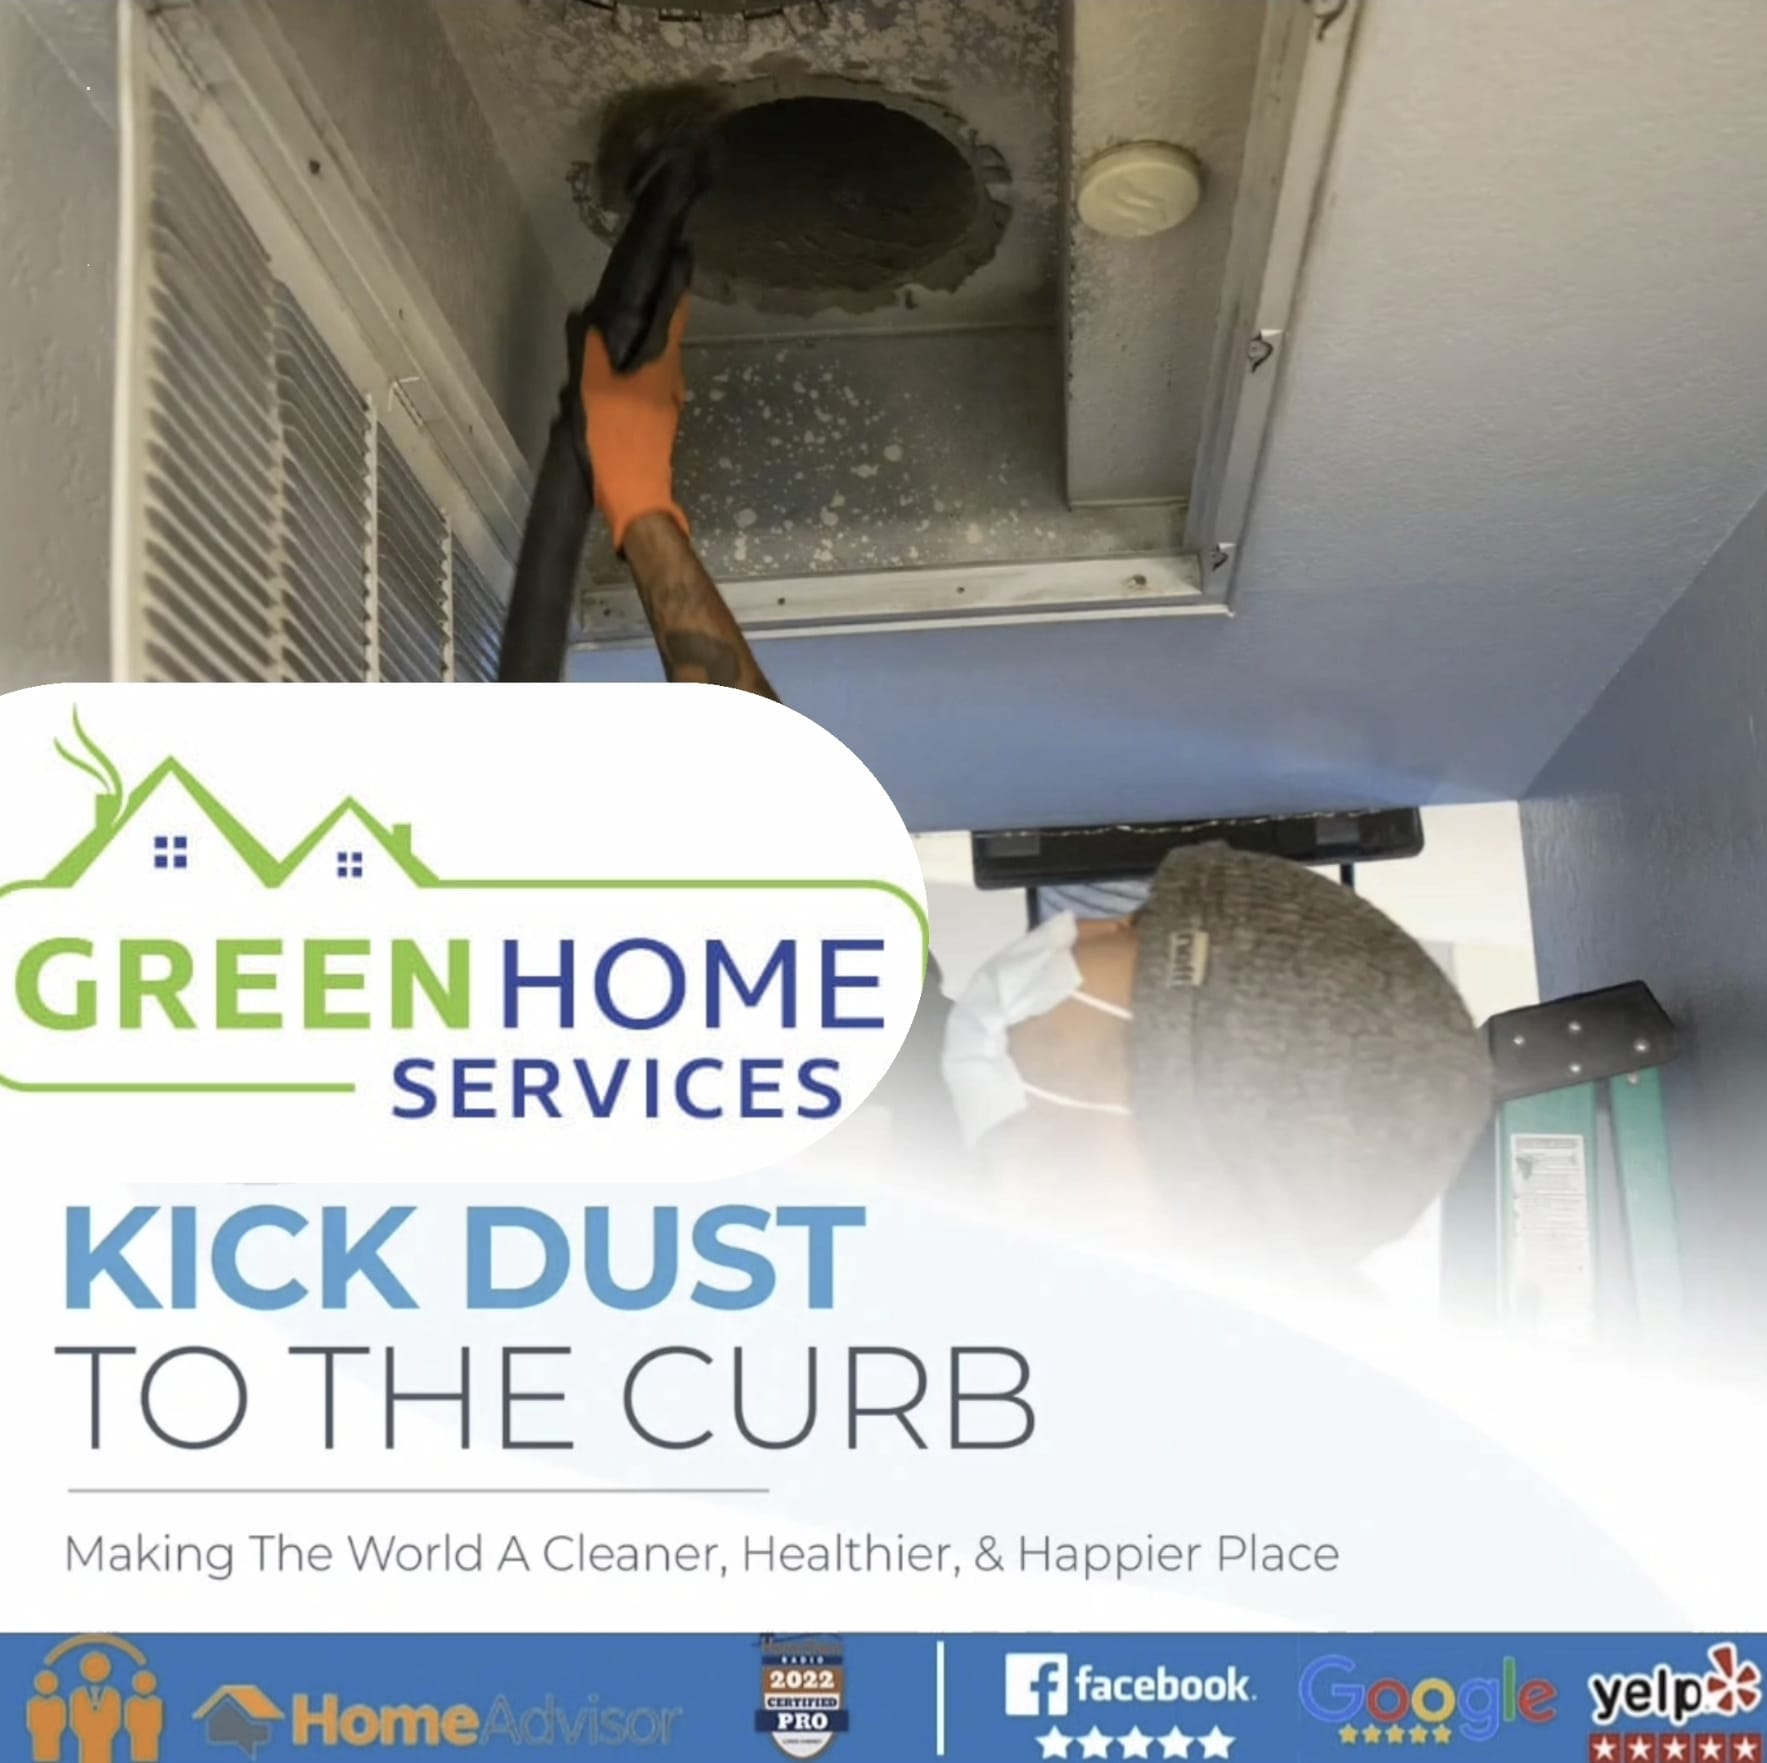
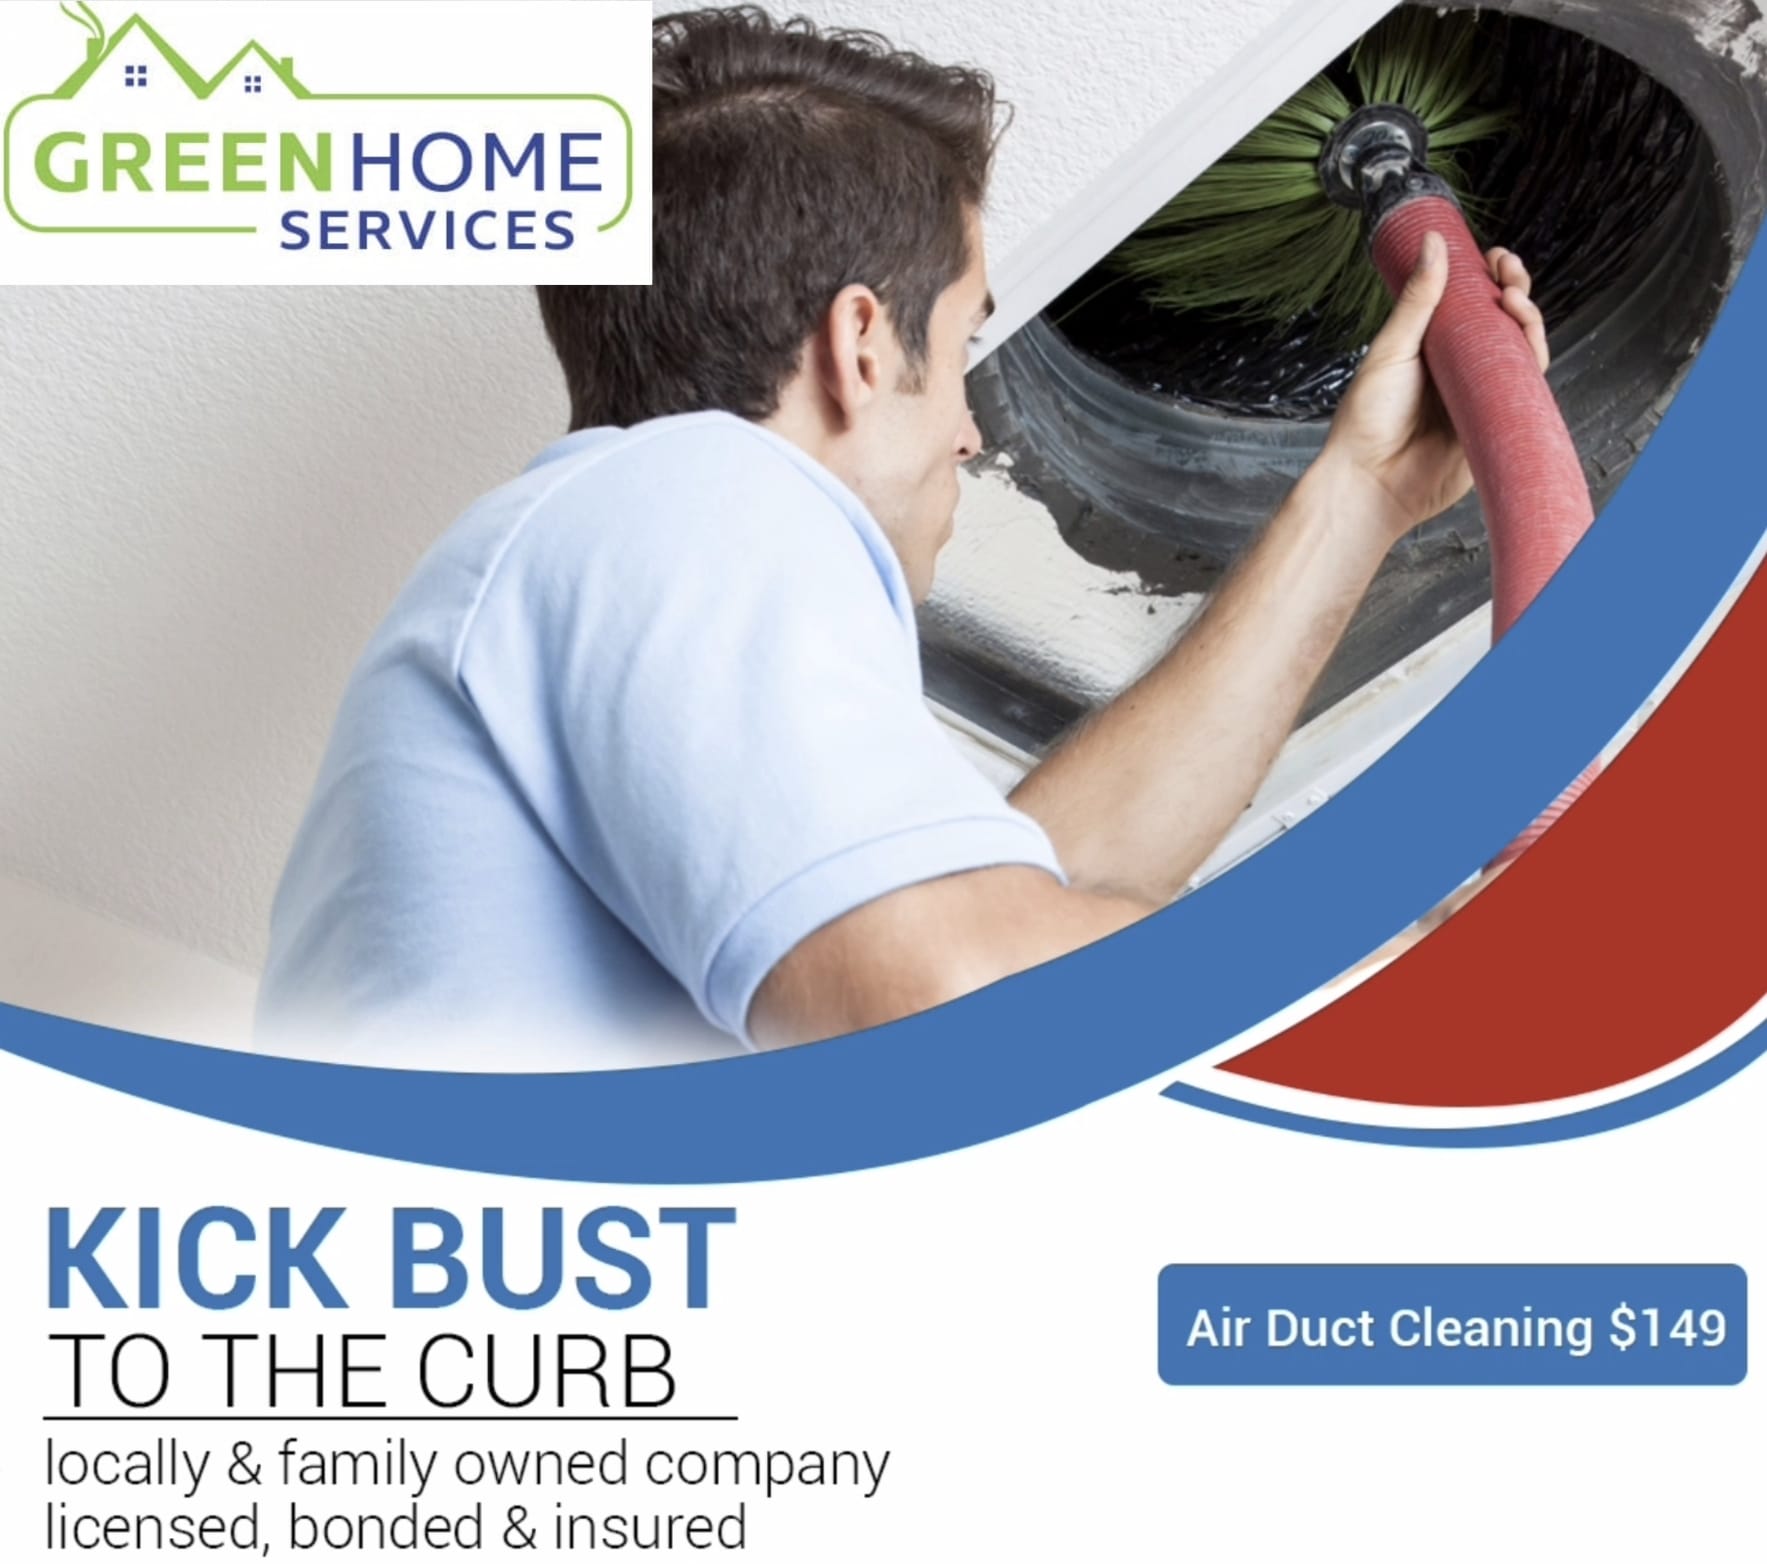
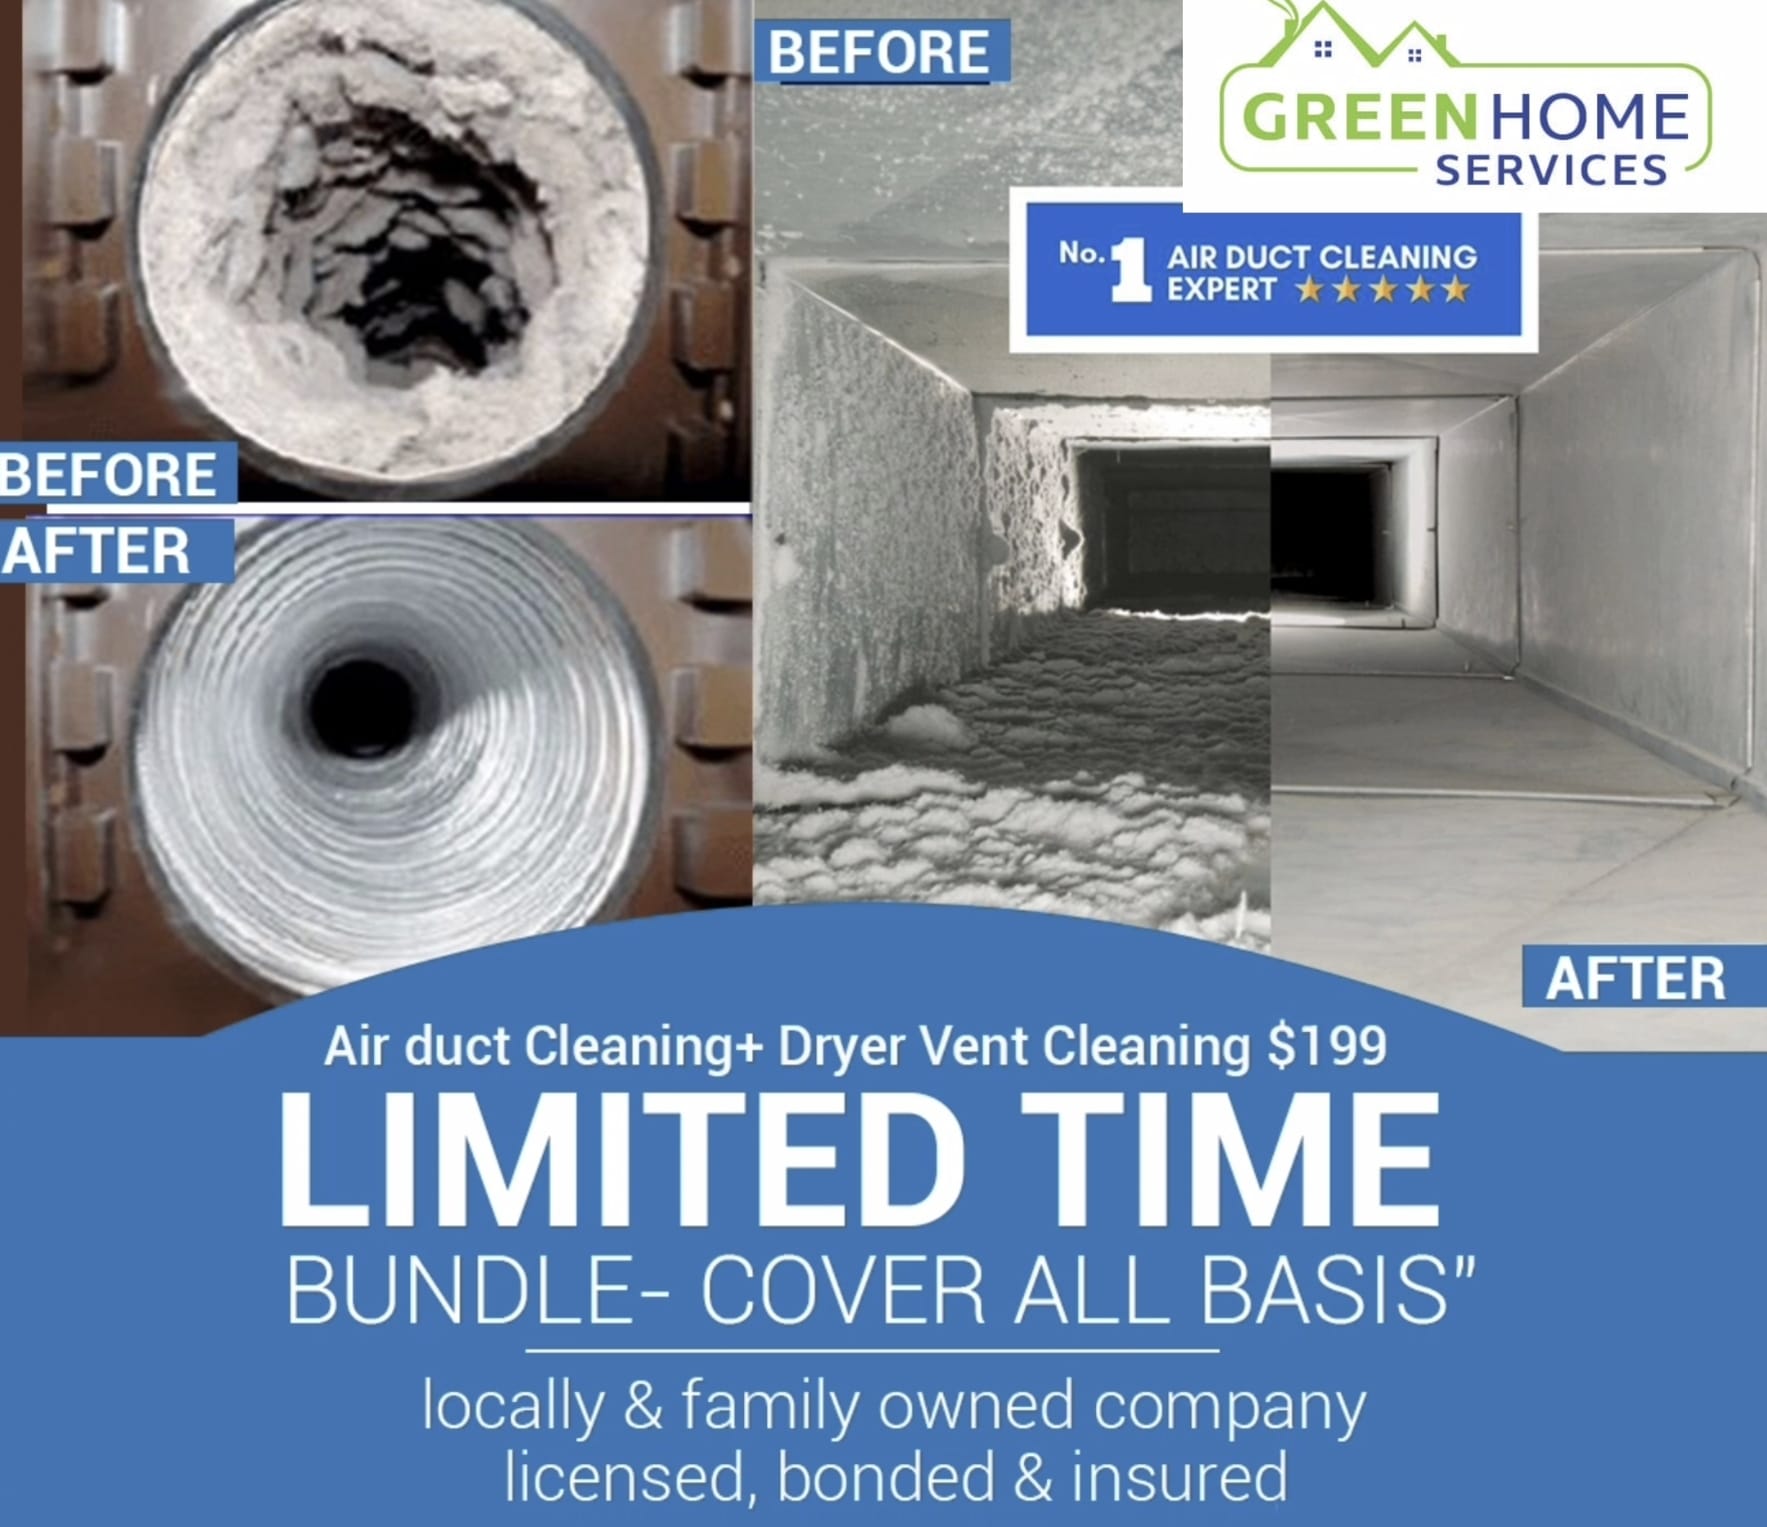
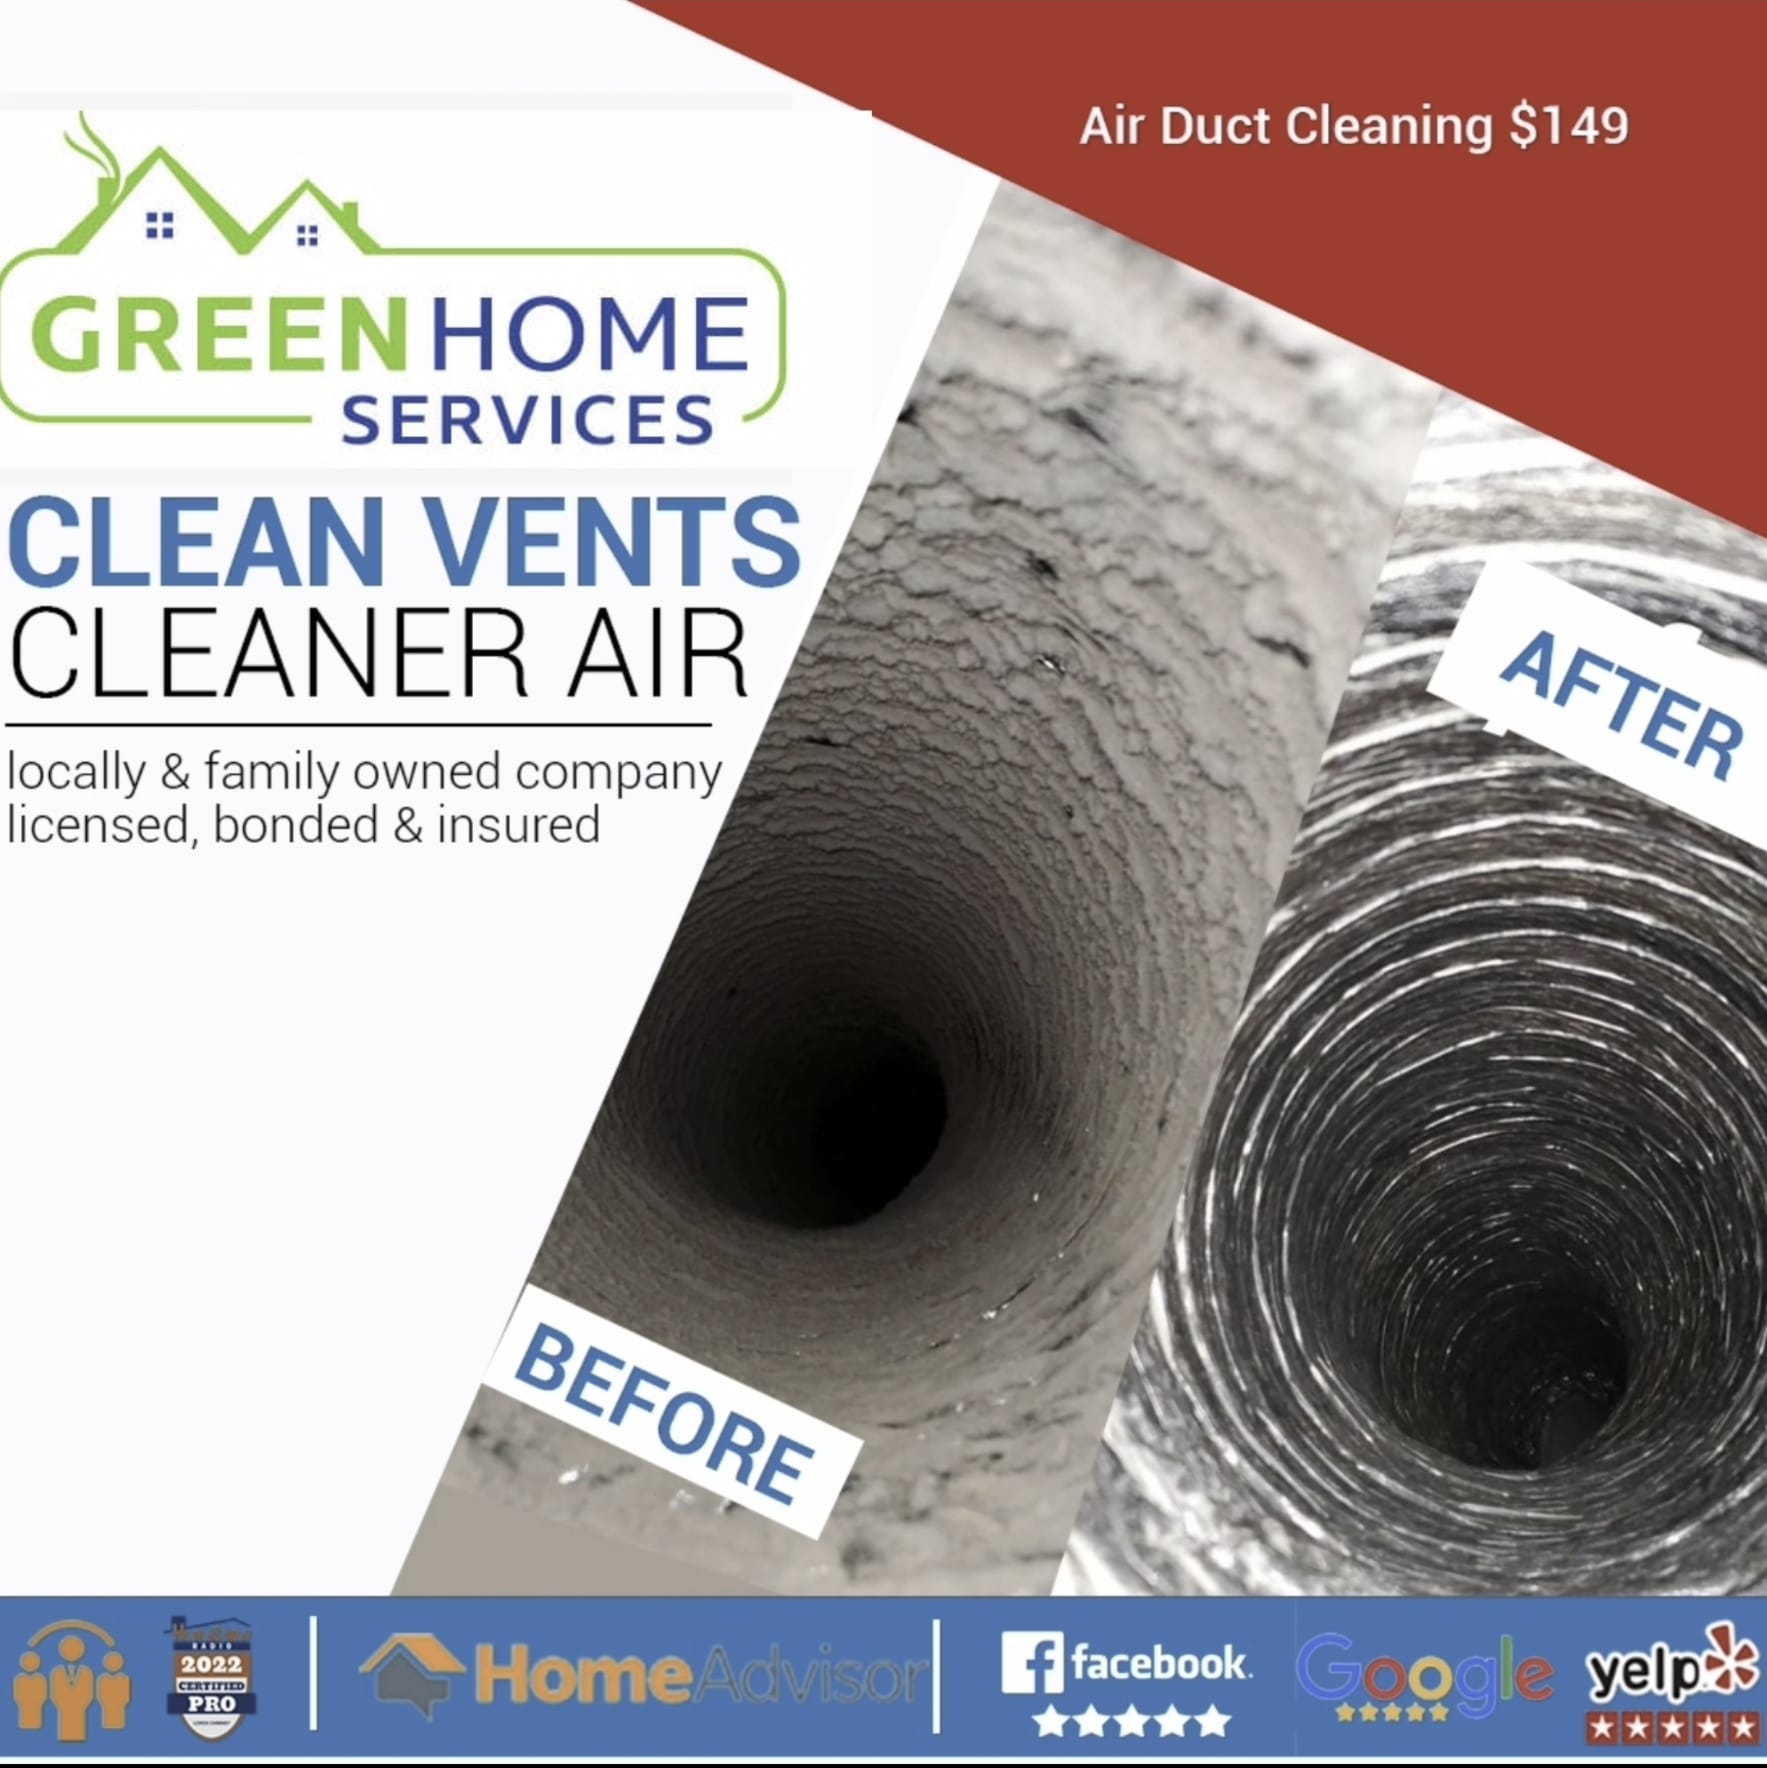
Green Home Services is a professional air duct, dryer vent, and chimney cleaning company. They offer a range of cleaning and maintenance services to improve the performance and safety of these systems.
It is recommended to have your air ducts cleaned every 3-5 years, or more frequently if you have pets, allergies, or other indoor air quality concerns.
Yes, regular dryer vent cleaning and maintenance can improve the efficiency of your dryer, reducing energy costs and preventing fires.
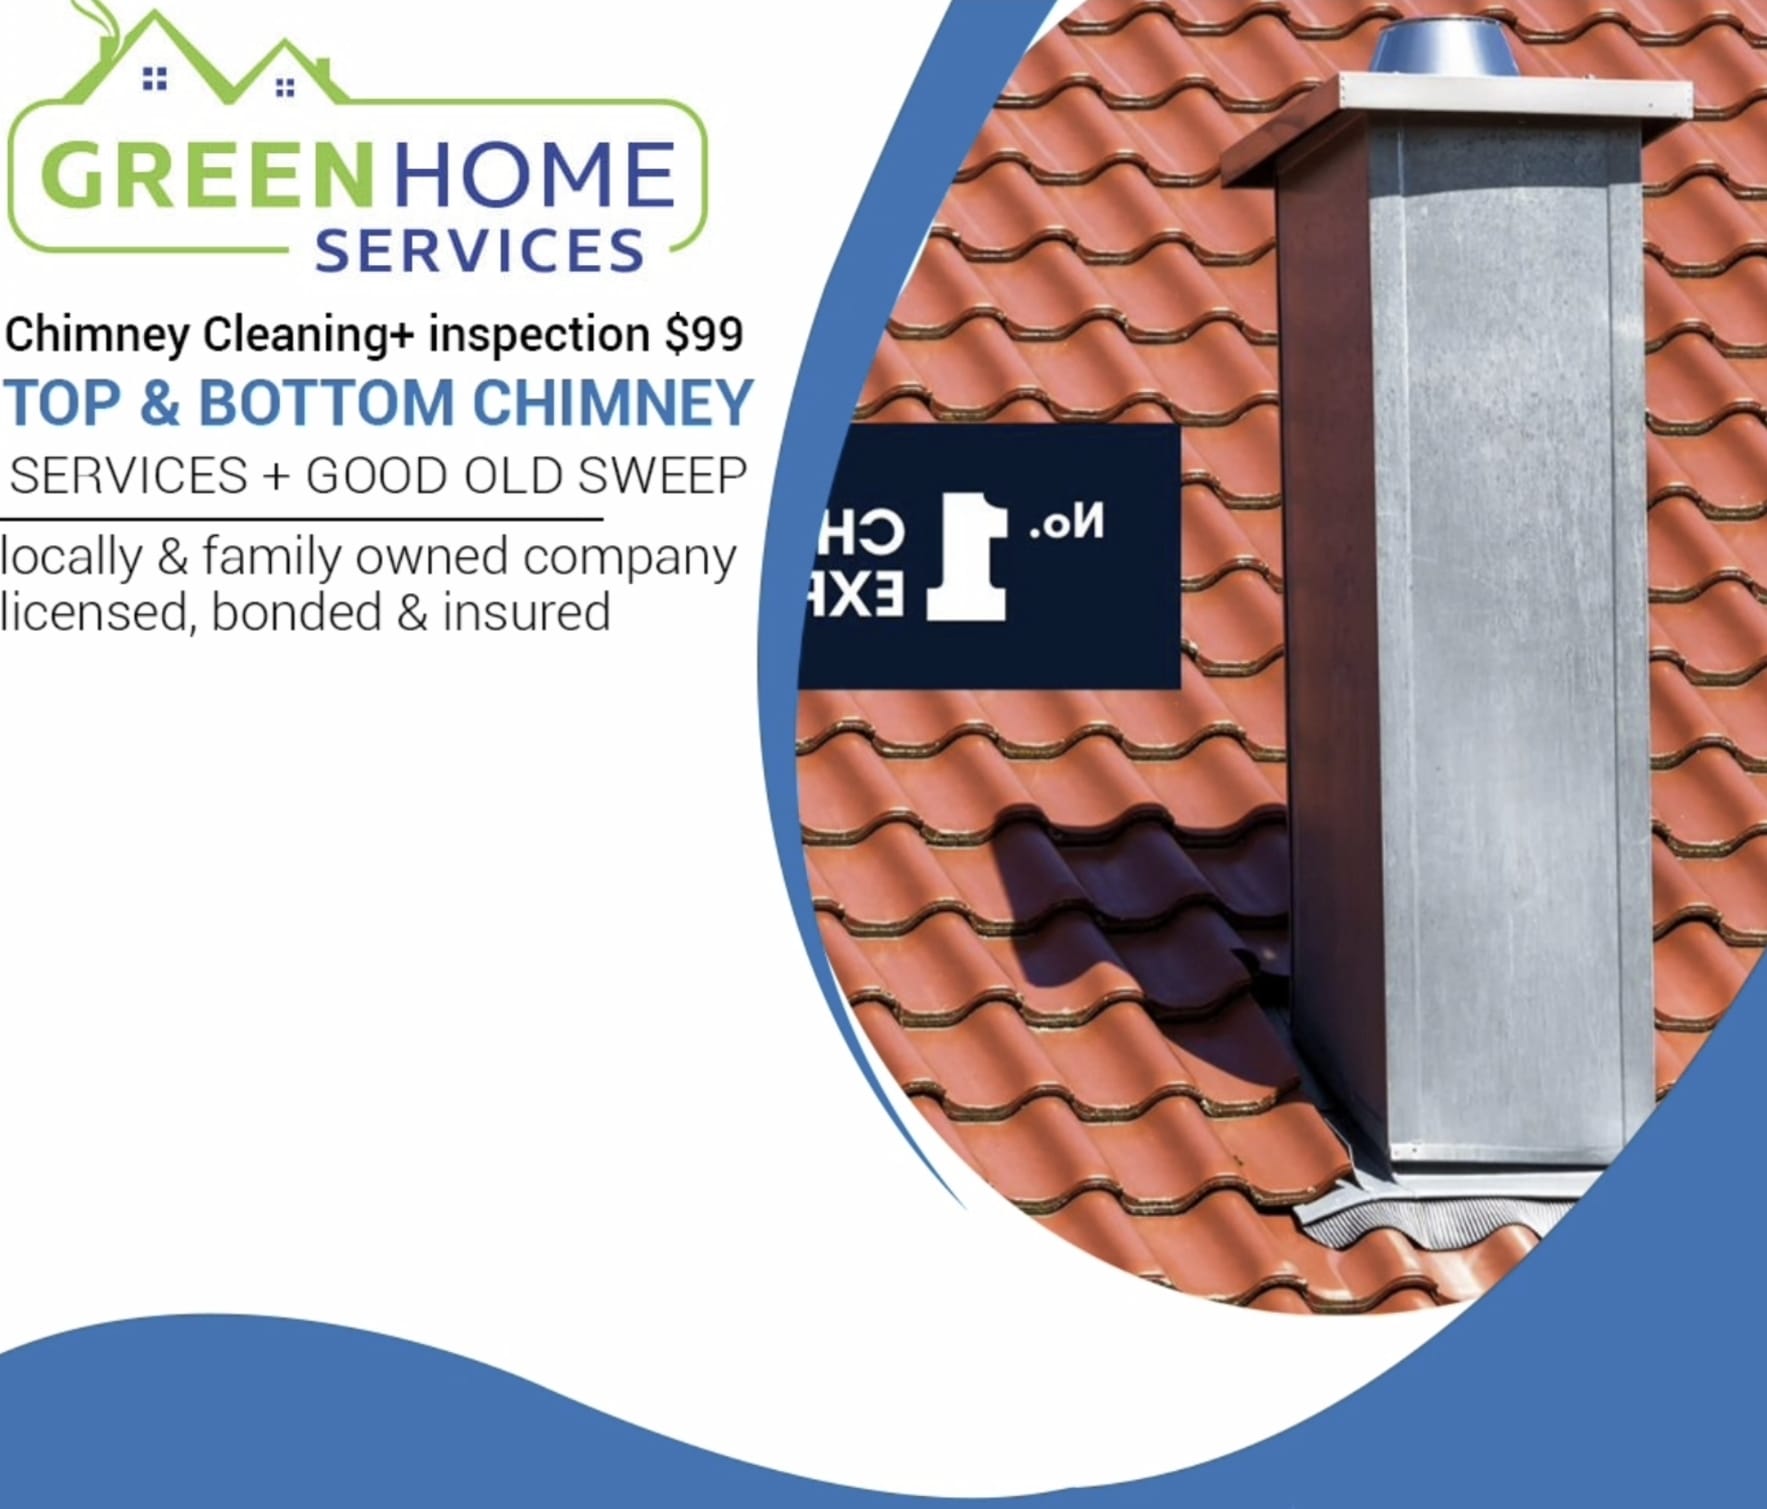
Yes, regular chimney cleaning can remove dangerous buildup of creosote, ash, and other materials, reducing the risk of chimney fires.
No, you do not need to be home for the cleaning services. Green Home Services will take all necessary precautions to ensure the safety and protection of your home.
Green Home Services employs trained and certified technicians and uses state-of-the-art equipment to ensure the quality of their services. They also offer a satisfaction guarantee for their work.
San Antonio
Beorne
New Braunfels
Cibilo
Seguin
Floresville
canyon lake
helotes
Schertz
Alamo hights
San Marcos
Fair Oaks Ranch
Timberwood Park
Selma
Converse
Adkins
Kicaster
La Vernia
Elmendorf
Saspamco
Sandy Oaks
Somerset
Atascosa
Lytle
Macadona
Castroville
Rio Medina
New Berlin
Spring Branch
Canyon Lake
Call Area Wide Services at +1(210) 995-7025 or Fill out our form
Our goal at Green Home Services is to help our customers save money and live comfortably in all weather conditions. We offer an unmatched selection of products, along with every mentioned service that you can think of. Among air duct cleaning, dryer vents, and chimney, we’ve got you covered.
Copyright © 2025 Green Home Services | All Rights Reserved | Privacy Policy