
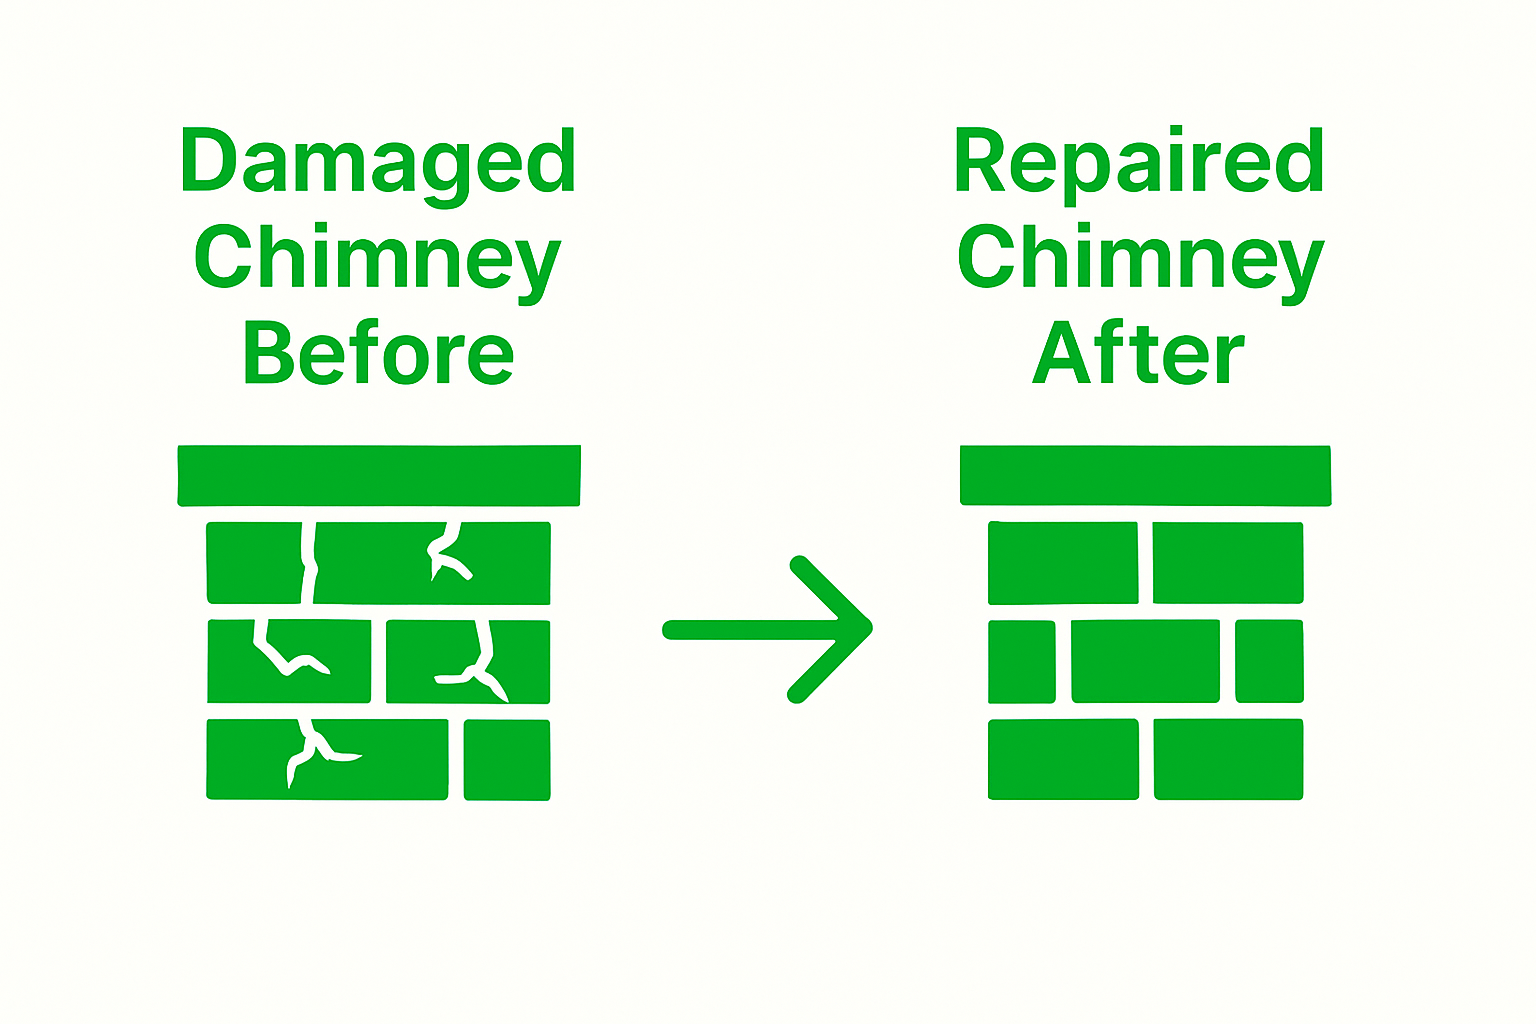
Chimney masonry repair sounds straightforward until you realize how quickly Texas weather can turn a minor crack into a major problem. Most homeowners think you only need to worry if you spot missing bricks, but even subtle moisture stains or thin cracks can signal hidden damage that costs thousands if ignored. The real eye-opener is how a simple step-by-step approach saves you money, boosts safety, and could extend your chimney’s life well beyond expectations.
Table of Contents
- Step 1: Assess Your Chimney’s Condition
- Step 2: Gather Necessary Tools And Materials
- Step 3: Prepare The Work Area For Safety
- Step 4: Execute The Masonry Repair Techniques
- Step 5: Inspect And Test For Quality Assurance
Quick Summary
| Key Point | Explanation |
|---|---|
| 1. Conduct a thorough chimney assessment | Inspect both the interior and exterior for damage like cracks and moisture stains to identify repair needs early. |
| 2. Gather essential tools and materials | Use quality masonry tools and weather-resistant mortar to ensure effective and durable repairs. |
| 3. Prepare the work area for safety | Clear the area and protect surrounding surfaces to prevent accidents and damage during repairs. |
| 4. Execute masonry repair techniques carefully | Remove damaged materials, apply new mortar correctly, and ensure alignment for structural integrity. |
| 5. Perform a rigorous quality assurance check | Inspect repairs for consistency, alignment, and water resistance to confirm their durability against Texas weather. |
Step 1: Assess Your Chimney’s Condition
A comprehensive chimney masonry repair process begins with a thorough and systematic assessment of your chimney’s current condition. Understanding the specific state of your chimney allows you to identify potential issues before they escalate into costly structural problems. Texas homeowners must recognize that environmental factors like extreme heat, humidity, and occasional freeze cycles can accelerate masonry deterioration.
Starting your chimney assessment requires careful visual inspection from both the exterior and interior of your home. Walk around the exterior and examine the chimney’s masonry for visible signs of damage. Look for cracked bricks, crumbling mortar joints, discoloration, or areas where the brickwork seems to be separating. Pay special attention to the chimney crown and flashing, as these areas are particularly vulnerable to water intrusion and potential structural compromise.
Inside your home, check the area around your fireplace and chimney for warning signs such as water stains, unusual odors, or visible moisture marks on adjacent walls. These indicators can suggest underlying masonry issues that might require immediate professional attention. Check out our comprehensive guide on chimney inspection processes to understand the nuanced details of a professional evaluation.
For a more detailed assessment, consider using basic tools that can help you document potential problems:
- Bright flashlight for illuminating hard-to-see areas
- Ladder for safe exterior examination
- Camera or smartphone to photograph potential damage zones
- Tape measure to track crack sizes and structural shifts
While a homeowner-level inspection provides valuable initial insights, chimney masonry repairs often require professional expertise. If you notice significant damage or are uncertain about the extent of necessary repairs, scheduling a professional inspection becomes crucial. Professional chimney technicians can perform more comprehensive assessments using specialized equipment like moisture meters and infrared cameras to detect hidden structural issues that might not be immediately visible to the untrained eye.
Successful completion of this assessment step means you have a clear understanding of your chimney’s current condition, potential repair needs, and a documented baseline for future comparisons. Remember, early detection and proactive maintenance can save Texas homeowners significant money and prevent more extensive structural damage down the line.
Step 2: Gather Necessary Tools and Materials
Preparing for chimney masonry repairs requires careful selection of specialized tools and high-quality materials that will ensure a professional and lasting repair. As you transition from assessment to repair, gathering the right equipment becomes critical to successfully addressing your chimney’s structural needs. Texas homeowners should approach this preparation phase with precision and attention to detail.
Your repair toolkit will need professional-grade masonry tools that enable precise and safe work. Start by selecting a high-quality brick trowel between 10 and 11 inches long, which provides the optimal balance for mortar application and brick manipulation. Complementing this, acquire a set of pointing trowels for detailed work in tight spaces, along with a sturdy brick hammer designed specifically for masonry projects. A 4-foot level will help you maintain straight lines and ensure structural integrity during repairs.
Learn more about professional chimney maintenance techniques that can help you understand the nuanced requirements of your repair project. Beyond tools, selecting appropriate masonry materials is equally important. Choose weather-resistant mortar mix specifically formulated for exterior applications in Texas climate conditions. Opt for hydraulic lime-based mortar that provides flexibility and breathability, which is crucial in managing temperature fluctuations and preventing future cracking.
Essential safety equipment is non-negotiable during chimney masonry repairs. Assemble a comprehensive safety kit that includes:
- Heavy-duty work gloves with excellent grip
- Safety glasses or protective goggles
- Dust mask rated for construction particulates
- Steel-toed work boots with non-slip soles
- Long-sleeved shirt and long pants for full body protection
Additional materials you will need include replacement bricks matching your existing chimney’s color and texture, silicone-based water repellent, wire brushes for cleaning surfaces, and a sturdy ladder that allows safe access to your chimney. Consider purchasing extra materials to account for potential breakage or unexpected repair requirements.
Verifying your toolkit’s completeness involves checking that each tool is clean, functional, and appropriate for masonry work. Inspect all equipment for signs of wear or damage before beginning your repair project.
Here is a handy reference table summarizing the essential tools, materials, and safety gear required for chimney masonry repairs, including each item’s purpose during the repair process.
| Item | Type | Purpose |
|---|---|---|
| Brick trowel (10-11 inch) | Tool | Applies and spreads mortar during brick installation |
| Pointing trowels | Tool | Works mortar into tight or detailed joints |
| Brick hammer | Tool | Removes damaged bricks and mortar; taps replacement bricks |
| 4-foot level | Tool | Ensures straight lines and structural alignment |
| Weather-resistant mortar mix | Material | Bonds bricks; resists Texas weather |
| Replacement bricks | Material | Replaces damaged bricks; matches existing masonry |
| Silicone-based water repellent | Material | Provides water resistance post-repair |
| Wire brushes | Tool | Cleans surfaces before new mortar or brick addition |
| Work gloves | Safety Gear | Protects hands from sharp edges and debris |
| Safety glasses/goggles | Safety Gear | Protects eyes from dust and chips |
| Dust mask | Safety Gear | Filters out construction dust and particulates |
| Steel-toed work boots | Safety Gear | Shields feet and provides slip resistance |
Step 3: Prepare the Work Area for Safety
Safety transforms chimney masonry repairs from a potentially dangerous project into a controlled, manageable task. Preparing your work area meticulously protects not just the worker but also your home’s interior and surrounding environment. Texas homeowners must approach this preparation with a strategic mindset, understanding that proper setup can prevent accidents and minimize potential property damage.
Begin by completely clearing the area surrounding your chimney both inside and outside your home. Move furniture, decorative items, and any breakable objects at least 10 feet away from the repair zone. Cover floors and adjacent surfaces with heavy-duty drop cloths or plastic sheeting to protect against dust, debris, and potential mortar spills. If you’re working inside, create a sealed barrier using plastic sheeting and painter’s tape to prevent dust from spreading to other areas of your home.
Explore our comprehensive guide on chimney maintenance safety to understand additional precautions specific to Texas home environments. Establishing a secure perimeter is crucial for both indoor and outdoor work zones. For exterior repairs, mark off the ground area around the chimney with caution tape or temporary fencing. This prevents unauthorized access and alerts family members and passersby to the active work site.
Preparing for potential environmental challenges is essential in Texas’s variable climate. Check weather forecasts and select a day with stable conditions. Extreme heat, sudden rain, or high winds can compromise your repair work and create additional safety risks. Ensure you have adequate shade or sun protection if working outdoors, and have water and electrolyte drinks available to prevent heat exhaustion.
Critical safety preparations include:
- Securing ladders on stable, level ground with proper angle positioning
- Checking all personal protective equipment for integrity
- Ensuring clear communication methods with anyone else present
- Having a first aid kit readily accessible
- Keeping a fire extinguisher nearby during masonry work
Verify your work area’s readiness by conducting a comprehensive walkthrough. Check that all tools are organized, surfaces are protected, potential hazards are minimized, and you have a clear, unobstructed path for movement. A well-prepared work zone not only enhances safety but also increases the efficiency and quality of your chimney masonry repairs. Remember that taking time to set up properly can prevent costly mistakes and potential injuries during the repair process.
Step 4: Execute the Masonry Repair Techniques
Executing masonry repair techniques requires precision, patience, and a systematic approach that transforms damaged chimney structures back to their original strength. Texas homeowners must understand that successful repairs involve more than simply replacing bricks or filling cracks they must restore the chimney’s structural integrity and weather resistance.
Begin by removing damaged bricks and mortar using your brick hammer and chisel with careful, controlled movements. Create clean edges around the damaged area, removing at least one inch of surrounding mortar to ensure proper adhesion for new materials. Work methodically from top to bottom, which prevents additional stress on the chimney structure. Use your wire brush to clean the exposed surfaces thoroughly, removing loose debris and creating an ideal bonding environment for new masonry materials.
Discover professional chimney maintenance strategies that can help refine your repair approach. When mixing new mortar, focus on achieving the correct consistency a blend that is workable yet firm. Your mixture should hold its shape when pressed but remain pliable enough to spread smoothly. For Texas homes experiencing extreme temperature variations, select a hydraulic lime-based mortar that offers flexibility and breathability.
Applying the new mortar requires a steady hand and strategic technique. Use your pointing trowel to carefully pack mortar into joints, working in small sections to maintain consistent moisture and prevent premature drying. Press the mortar firmly to eliminate air pockets and ensure maximum structural adhesion. When inserting replacement bricks, tap them gently into position using your brick hammer, checking alignment with your level to maintain straight lines and prevent future structural issues.
Critical techniques for successful masonry repair include:
- Maintaining consistent mortar joint thickness
- Ensuring proper brick alignment and levelness
- Allowing adequate curing time between repair stages
- Protecting newly repaired areas from direct sunlight and moisture
- Checking structural integrity after each repair section
Complete your repair by applying a breathable water-resistant sealant across the repaired sections. This final step protects your chimney from moisture penetration while allowing natural vapor transmission. Allow the repaired area to cure completely before subjecting it to any significant stress or environmental exposure. Careful execution of these techniques transforms your chimney from a potential structural liability into a robust, weather-resistant feature of your Texas home.
Step 5: Inspect and Test for Quality Assurance
Quality assurance represents the critical final stage of chimney masonry repairs, transforming your technical work into a reliable, long-lasting structural solution. This meticulous inspection process ensures that every repair meets professional standards and will withstand Texas’s challenging environmental conditions. Homeowners must approach this step with the same precision and attention to detail applied during the earlier repair stages.
Begin your quality assurance inspection by examining the repaired areas systematically, using natural light and a bright flashlight to illuminate potential imperfections. Look for subtle signs of incomplete repair, such as uneven mortar joints, slight misalignments in brick placement, or tiny gaps that could compromise the chimney’s structural integrity. Run your hand carefully along the repaired surfaces, feeling for any irregularities that might not be immediately visible. The texture should feel smooth and consistent, with mortar joints that are firmly packed and level.
Learn more about professional chimney maintenance techniques to understand the nuanced details of thorough quality assessment. Water resistance testing becomes crucial in this stage. Wait at least 48 hours after completing repairs to allow mortar to set, then conduct a controlled water test. Using a garden hose with a gentle spray, simulate light rainfall conditions and observe how water interacts with your repaired chimney surfaces. Watch for any signs of water penetration, unusual absorption, or unexpected moisture migration that could indicate potential structural weaknesses.
Your comprehensive quality assurance process should include evaluating multiple critical aspects:
- Structural alignment and vertical straightness
- Mortar joint consistency and fill
- Surface smoothness and evenness
- Water resistance and drainage capabilities
- Overall aesthetic matching with original masonry
Utilize your level multiple times during the inspection to confirm that repair work maintains the chimney’s original geometric precision. Check that newly installed bricks are perfectly aligned with existing structures, paying close attention to potential slight variations that could indicate underlying issues. Document your findings through photographs, creating a visual record that can help track future changes or serve as a reference for potential professional consultations.
Successful quality assurance means your chimney repair not only looks professional but promises durability against Texas’s demanding climate. A meticulous final inspection transforms your hard work into a reliable, long-lasting home improvement that protects your property and provides peace of mind.
This table offers a convenient checklist for the quality assurance step, outlining critical aspects to verify after masonry repair to ensure lasting results and professional standards.
| Quality Factor | What to Check | Desired Outcome |
|---|---|---|
| Structural alignment & straightness | Use level to check repaired areas | Original geometric precision |
| Mortar joint consistency & fill | Visual and tactile inspection of joints | Even, firmly packed, no gaps |
| Surface smoothness & evenness | Run hand over repair for irregularities | Smooth, consistent texture |
| Water resistance | Gentle water test after 48 hours | No absorption or penetration |
| Brick placement alignment | Compare with original masonry; look for variance | Perfectly matched alignment |
| Overall visual match | Compare color, texture, and finish with existing chimney | Seamless aesthetic integration |
Protect Your Texas Home with Proven Chimney Masonry Solutions
Worried about cracked bricks, water stains, or old mortar letting in rain and heat? You are not alone. Texas homeowners often struggle with chimney masonry issues that can quickly lead to costly repairs or indoor air quality problems. After learning how to assess and repair chimney masonry, you deserve the confidence of knowing your home is protected—inside and out. If masonry damage is interrupting your comfort or making you nervous about hidden risks, it is time to safeguard your investment.
Do not let small masonry concerns turn into expensive headaches. Take the next step by discovering expert-backed solutions on our Uncategorized Archives – Green Home Services page, or learn more about our tailored indoor air quality and home care services at Green Home Duct Cleaning. Let our experienced team help you solve your chimney problems now, so you can enjoy a healthier, safer home for years to come.
Frequently Asked Questions
What are the signs that my chimney needs masonry repair?
Common signs include cracked bricks, crumbling mortar joints, discoloration, and visible water stains inside your home. Any areas where the brickwork seems to be separating should also be closely inspected.
How do I assess the condition of my chimney before repairs?
Start with a thorough visual inspection from both inside and outside your home. Use tools like a flashlight, ladder, and camera to document any damage. Consider hiring a professional for a more detailed assessment if significant issues are suspected.
What tools and materials are necessary for chimney masonry repairs?
You’ll need masonry tools such as a brick trowel, pointing trowels, a brick hammer, and a 4-foot level. You’ll also require weather-resistant mortar mix, replacement bricks, silicone-based water repellent, and safety gear including gloves and goggles.
How do I ensure the safety of my work area during repairs?
Clear the area around your chimney of furniture and breakable items, and cover surfaces with cloths or plastic sheeting. Establish a secured perimeter to prevent unauthorized access, and ensure your ladders and tools are set up safely. Always wear personal protective equipment while working.
Recommended
- Chimney Cleaning for New Homeowners in Texas: 2025 Guide – Green Home Services
- How to Clean Chimney: Easy Guide for Texas Homeowners – Green Home Services
- Chimney Cleaning for Older Homes: 2025 Texas Homeowner Guide – Green Home Services
- Chimney Cleaning Safety Tips for Texas Homeowners 2025 – Green Home Services